
Starting rye
Although, as I said in my last post, making rye bread is easy, it does require a starter instead of baker’s yeast: a mixture of flour and water in which naturally-occurring yeast cells have begun to ferment and reproduce. Making a starter is not difficult in itself, although whether it is successful is, to some extent, a matter of chance. The formula I’m going to use here is from Andrew Whitley’s outstanding book Bread Matters.
First, find a container for your starter. I use a 700ml plastic tub with a clip-on lid; in the past I’ve used jam-jars and Pyrex bowls. Because an established starter is mildly acidic, it’s best not to use a metal container for long-term storage. I have read warnings about using metal utensils with starters, but that’s a bit hysterical: the acidity of a starter won’t usually get close to the acidity of vinegar or lemon juice, even, so there is no way it will spontaneously attack metal.
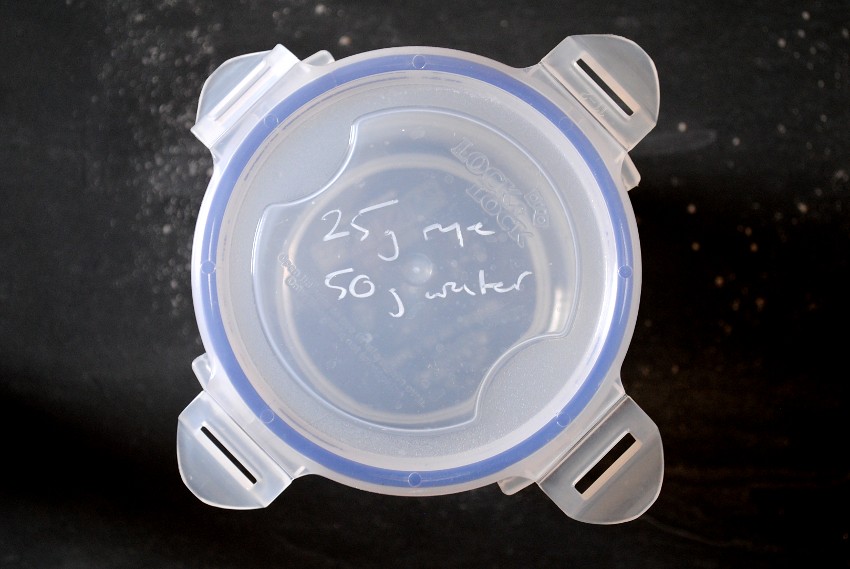
When I started baking, rye flour was a rather obscure product only available through wholefood shops. Now you can find it in most supermarkets, presumably thanks to the explosion of interest in bread-making over the last ten years or so. Rye flour is a rather attractive pastel shade of brown, of the sort you might find on a Farrow & Ball colour chart. Mix it with water, however, and it becomes a gritty, unappetising looking paste. Don’t let this put you off. Mix 25g of rye with 50g of warm water (Whitley stipulates 40°c, but I don’t bother measuring) in your container to make a sloppy batter, and leave it for about 24 hours. If you’re using a lidded container, leave the lid on loosely; if you use a bowl, stretch some clingfilm over it and poke a few holes in it.

After the time is up, add another 25g rye flour and 50g water, exactly as before. Mix it in and leave it for another 24 hours. Keep repeating this procedure at 24 hour intervals; making these additions is often referred to as ‘feeding’ or ‘refreshing’ the starter. Because I have several different starters and a memory like a leaky bucket, I write the amount of flour and water I need to add on the lid of the container using a chinagraph pencil (widely available from stationers and art supply shops). After four or five days, the surface of the batter will hopefully be frothy, an indication that yeast have begun to ferment and are releasing carbon dioxide. Don’t expect it to look like a cappuccino – the froth is unlikely to be very thick, but it should be noticeable.

That’s all there is to making a sourdough starter, and the same principle applies whatever sort of flour you use. Some authors recommend adding ingredients like currants and natural yoghurt to improve the chances of the starter getting going, but there isn’t really any need. The kindest thing you can do for your starter is to keep it reasonably warm – 25-30°c if you can. Failing that, at least try to keep the temperature constant. If there is absolutely no sign of frothing after seven days, it’s probably best to start again from scratch. That’s not to say that a few more days feeding definitely won’t get things going. It might. However, by this time you will have a fair amount of batter and will need to get rid of some. In this situation I always think it’s better to start afresh.
Why might your starter not get going? I have come to the conclusion that it’s hardly worth worrying about. There are many, many reasons why you might be unsuccessful, but working out what they are could take the knowledge and resources of a microbiologist. It’s quicker and easier to just have another shot at it. For more in-depth information than I have room for here, have a look at the chapter on pre-ferments in the book. And if you have been successful, you’re ready to make rye bread…